
🎪 游戏简介
游戏特色
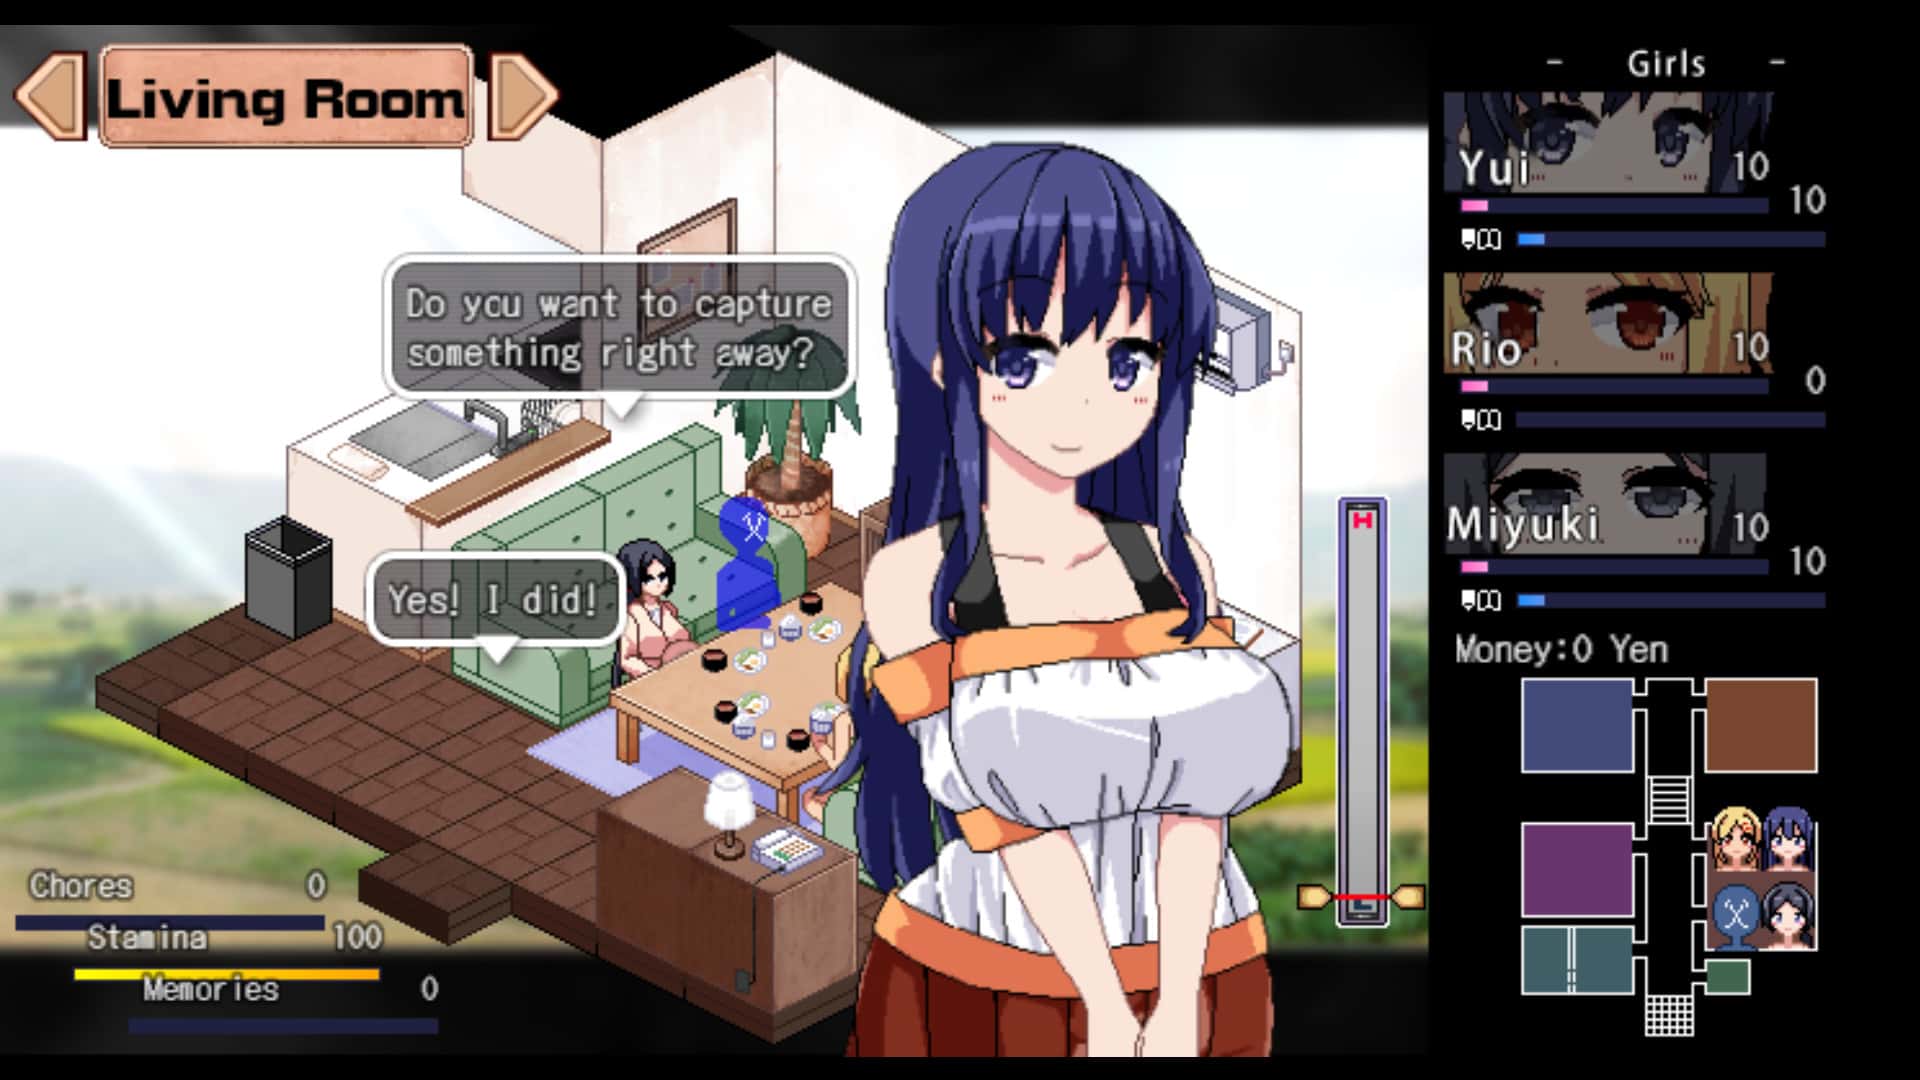
游戏简介 《纳迪亚之宝》(Treasure of Nadia)是一款融合了冒险、解谜与角色扮演元素的独立游戏。在这个引人入胜的故事中,玩家将扮演一名勇敢的探险家,踏上一段寻找失落宝藏的非凡旅程。 故事剧情 主角父亲留下的神秘线索 《纳迪亚之宝 (Treasure of Nadia)》主角的父亲是一位世界著名的寻宝者,却在寻找神秘宝藏时突然离世,给主角留下了一栋房子和有关宝藏的线索。而主角早就想成为一名寻宝者,于是当场休学,来到了父亲生前停留的维拉德角,踏上了寻宝之旅。 但随着和岛上居民的接触,他发现宝藏背后藏着惊天的秘密,而父亲的死也没有那么简单…… 玩法特色 丰富的角色互动 丰富的角色互动 游戏中众多位性格鲜明的角色,玩家可以通过完成剧情和任务提升她们的好感度,解锁新的剧情和事件。 深度的解谜元素 深度的解谜元素 游戏世界遍布着各种谜题和机关,玩家需要运用智慧和观察力解开它们,获取关键物品和线索。 自由的地图探索 自由的地图探索 小镇建筑及其周边地区拥有广阔的地图,玩家可以自由探索各个区域,发现隐藏的宝藏和秘密。 多样的物品制作 多样的物品制作 玩家可以收集材料制作各种工具和装备,提升自己的探索能力和战斗实力。 主要角色 亨利 (Henry) 主角 勇敢的寻宝者,为了寻找父亲留下的神秘宝藏而来到维拉德角。 珍妮特·戴维斯 重要角色之一 凯莉·戴维斯 珍妮特的女儿 戴安娜 神秘的图书管理员 麦达琳 教堂的圣母 阿莉雅·盖拉 当地居民 克莱尔·格雷 神秘女性
游戏截图


📦 游玩教程
新手攻略指南
1
游戏开始
设置修改速度为快速,开局去公园和迈克对话,点击地上的闪光点获得【石护符】。
2
收集道具
往左走捡起宝箱钥匙,去图书馆找戴安娜卖掉护符获得金钱。
3
任务进展
去灯塔找艾伯特获取任务,在酒吧过剧情后捡起【房间钥匙】。
4
角色互动
与各个角色对话,完成任务提升好感度,解锁新的剧情内容。
在《纳迪亚之宝》中,稀有材料是制作高级道具和推进剧情的关键资源。很多玩家在收集这些珍贵材料时遇到困难,本文将分享一些实用的技巧和策略,帮助大家更高效地获得所需的稀有材料。
💎 稀有材料分类与用途
宝石类材料
红宝石:制作火属性装备和药剂
蓝宝石:制作水属性道具和护符
翡翠:合成自然系法术道具
钻石:最高级装备的核心材料
古代文物
古代符文石:解锁神庙秘密的钥匙
神秘水晶:增强魔法能力的材料
远古金币:购买特殊物品的货币
圣遗物碎片:重建传说装备的材料
生物材料
龙鳞:制作最强防具的材料
凤凰羽毛:复活和治疗道具的成分
独角兽角:净化和祝福道具的材料
海妖之泪:水下探险必备的材料
🗺️ 高效收集路线规划
每日收集路线
上午路线(6:00-12:00)
神秘森林:收集月光草和精灵之泪
水晶洞穴:挖掘各种宝石和水晶
古代遗迹:搜寻文物和符文石
海边悬崖:寻找海洋珍宝
下午路线(12:00-18:00)
火山口:收集火山石和熔岩结晶
深海区域:潜水寻找深海珍珠
天空之塔:获取风元素材料
地下迷宫:探索隐藏宝箱
夜晚路线(18:00-24:00)
月亮神庙:只在夜晚开放的特殊区域
幽灵森林:夜间才出现的稀有材料
星空观测台:收集星辰碎片
梦境之地:获取梦幻材料
⏰ 时间与天气影响
时间敏感材料
特定时间出现
黎明露珠:只在日出时分(5:00-6:00)收集
正午阳光石:中午12点在阳光直射处出现
午夜之花:只在午夜时分(0:00-1:00)绽放
黄昏金沙:日落时分(18:00-19:00)在海滩收集
月相影响
新月:暗影材料出现率提高
满月:月光材料品质提升
上弦月:生长类材料成熟加速
下弦月:神秘材料更容易发现
天气条件影响
雨天:水属性材料品质提升,雨后彩虹石出现
晴天:火属性和光属性材料更容易找到
雪天:冰属性材料大量出现,雪花水晶可收集
雷暴:雷电材料活跃,但收集风险较高
🔍 高级搜索技巧
探测工具使用
宝藏探测器:可以发现隐藏的宝箱和材料点
元素感应器:探测特定属性的材料
古物罗盘:指向最近的古代文物
生命探测仪:寻找稀有生物和它们的材料
环境线索识别
视觉线索
光芒闪烁:通常表示附近有稀有材料
颜色异常:与周围环境不符的颜色
粒子效果:魔法材料周围的特殊效果
动物聚集:某些动物会聚集在材料附近
音效线索
水晶共鸣:宝石材料发出的特殊音效
风声变化:风属性材料影响周围风声
鸟鸣异常:稀有材料会吸引特殊鸟类
地面震动:地下材料可能引起轻微震动
🎯 特殊获取方法
任务奖励优化
选择性完成:优先完成奖励稀有材料的任务
重复任务:某些每日任务可重复获得材料
连锁任务:完成任务链可获得额外奖励
隐藏任务:探索隐藏任务获得独特材料
交易与兑换
NPC商人交易
定期刷新:商人库存会定期更新
好感度影响:提升好感度可获得折扣
特殊货币:某些材料只能用特殊货币购买
限时商品:注意限时出售的稀有材料
材料兑换系统
比例兑换:多个普通材料兑换稀有材料
品质提升:低品质材料合成高品质材料
属性转换:不同属性材料之间的转换
季节兑换:特定季节的专属兑换活动
⚡ 效率提升技巧
装备优化
收集加成装备:穿戴提升材料获得率的装备
移动速度提升:使用加速道具提高收集效率
背包扩容:增加背包容量减少往返次数
耐久度管理:保持工具的良好状态
团队协作
分工合作:与其他玩家分工收集不同材料
信息共享:分享稀有材料的出现位置
互助交换:与其他玩家交换所需材料
组队探索:组队探索危险区域获得稀有材料
时间管理
制定计划:根据材料刷新时间制定收集计划
优先级排序:优先收集最需要的材料
批量处理:集中时间处理同类型材料
休息调整:合理安排休息避免疲劳影响效率
《纳迪亚之宝》中有众多魅力十足的角色等待玩家去认识和互动。每个角色都有独特的个性、喜好和背景故事。通过合理的互动策略,不仅能推进剧情发展,还能解锁精彩的特殊内容。本攻略将详细介绍各个角色的互动方法和好感度提升技巧。
💖 好感度系统详解
好感度等级
游戏中的好感度分为以下几个等级:
陌生(0-20):初次见面,对话选项有限
认识(21-40):开始了解彼此,可以进行简单互动
友好(41-60):建立友谊,解锁更多对话和活动
亲密(61-80):关系密切,可以进入私人空间
恋人(81-100):最高等级,解锁所有特殊内容
好感度提升方法
日常对话:每天与角色交谈(+1-3点)
赠送礼物:送角色喜欢的物品(+5-15点)
完成任务:帮助角色解决问题(+10-25点)
特殊互动:在特定场景下的互动(+15-30点)
正确选择:在对话中选择角色喜欢的回答(+3-8点)
👩 主要角色攻略
🌸 娜迪亚(Nadia)
角色特点:神秘的寻宝者,拥有古老的知识和智慧
喜好物品
古代文物和书籍
稀有宝石和水晶
精美的首饰
神秘的药剂
作息时间
早晨(6-9点):图书馆研究古籍
上午(9-12点):花园中冥想
下午(12-18点):实验室进行研究
晚上(18-22点):客厅休息阅读
特殊事件
月圆之夜:在花园中可触发特殊对话
古庙探险:邀请她一起探索古庙
生日惊喜:在她生日时准备特别礼物
💃 索菲亚(Sofia)
角色特点:活泼开朗的舞者,热爱艺术和音乐
喜好物品
音乐盒和乐器
美丽的花朵
时尚的服装
甜美的点心
作息时间
早晨(7-10点):阳台练习舞蹈
上午(10-13点):音乐室弹奏钢琴
下午(13-17点):花园中散步
晚上(17-21点):舞厅表演舞蹈
特殊事件
舞蹈表演:观看她的专场演出
音乐创作:帮助她创作新的乐曲
花园约会:在花园中共度浪漫时光
🔬 艾米丽(Emily)
角色特点:聪明的科学家,专注于研究和发明
喜好物品
科学仪器和工具
稀有的实验材料
学术书籍
精密的机械装置
作息时间
早晨(5-8点):实验室进行实验
上午(8-12点):图书馆查阅资料
下午(12-16点):工作室制作发明
晚上(16-20点):办公室整理研究笔记
特殊事件
科学实验:协助她完成重要实验
发明展示:见证她的最新发明
学术讨论:与她探讨科学问题
🏖️ 米娅(Mia)
角色特点:自由奔放的海滩女孩,热爱冒险和自然
喜好物品
海洋珍宝和贝壳
冒险装备
热带水果
运动用品
作息时间
早晨(6-9点):海滩晨跑
上午(9-13点):海边冲浪
下午(13-17点):沙滩排球
晚上(17-21点):海边篝火
特殊事件
海底探险:一起潜水寻找宝藏
冲浪比赛:参加她组织的冲浪活动
篝火晚会:在海边共度浪漫夜晚
🎁 礼物赠送指南
礼物等级系统
礼物等级 好感度加成 获取难度 示例物品
普通 +3-5点 容易 鲜花、糖果、小饰品
稀有 +8-12点 中等 珠宝、艺术品、特殊道具
史诗 +15-20点 困难 古代文物、稀有宝石
传说 +25-30点 极难 神器、独特收藏品
赠送技巧
在角色心情好的时候赠送礼物效果更佳
连续赠送相同礼物会降低效果
在特殊节日赠送礼物有额外加成
观察角色的反应来判断礼物是否合适
某些礼物需要达到一定好感度才能赠送
💬 对话选择攻略
对话技巧
倾听为主:让角色多说话,表现出关心
记住细节:记住角色提到的重要信息
适时幽默:在合适的时候开玩笑活跃气氛
真诚回应:选择真诚而非虚假的回答
尊重意见:即使不同意也要尊重角色的观点
对话选择原则
积极选择(推荐)
表达关心和支持
询问角色的感受
分享自己的经历
提供帮助和建议
消极选择(避免)
批评或指责角色
忽视角色的感受
过于自私的回答
不合时宜的玩笑
🌟 特殊事件触发条件
事件类型
日常事件
触发条件:好感度达到特定等级
发生时间:角色的日常活动时间
奖励:好感度提升和特殊对话
节日事件
触发条件:特定节日+一定好感度
发生时间:节日当天
奖励:独特CG和纪念品
剧情事件
触发条件:完成特定任务+高好感度
发生时间:剧情推进时
奖励:重要剧情发展和特殊能力
事件触发技巧
定期检查角色的房间和常去地点
注意角色的心情和状态变化
在特殊时间点主动寻找角色
完成角色的个人任务线
保持与角色的定期互动
⚠️ 注意事项与技巧
互动禁忌
不要在角色心情不好时强行互动
避免连续多天不与角色交流
不要赠送角色讨厌的物品
避免在不合适的时间打扰角色
不要忽视角色的个人空间
高效提升策略
制定每日互动计划,合理安排时间
收集和制作角色喜欢的礼物
积极参与角色的个人任务
记录角色的喜好和重要信息
在特殊节日准备惊喜
多角色平衡
合理分配时间,不要偏重某个角色
注意角色之间的关系和互动
某些选择可能影响多个角色的好感度
平衡发展有助于解锁更多内容