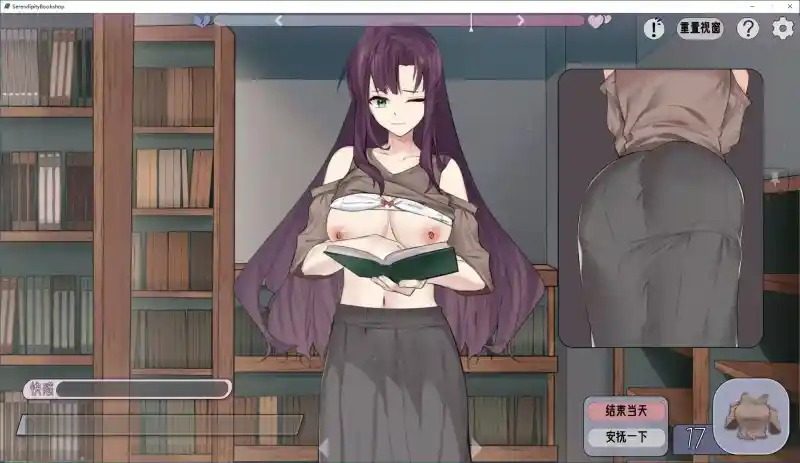
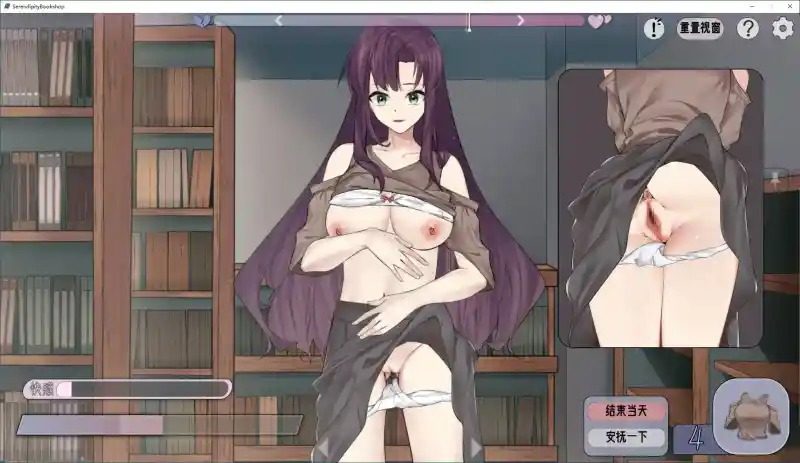
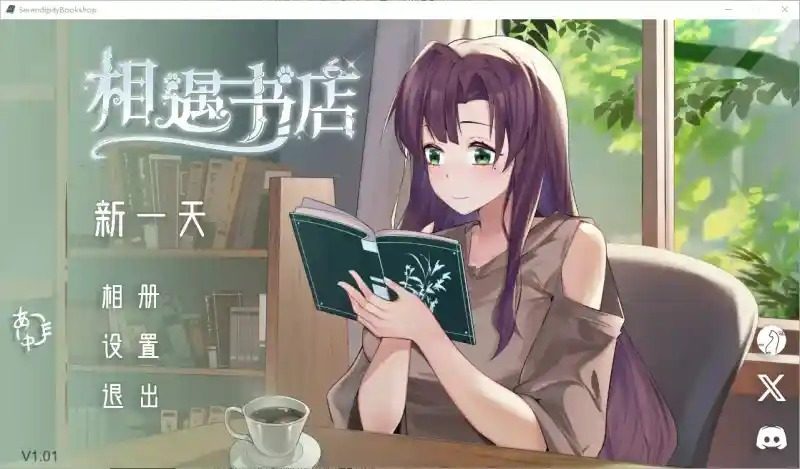
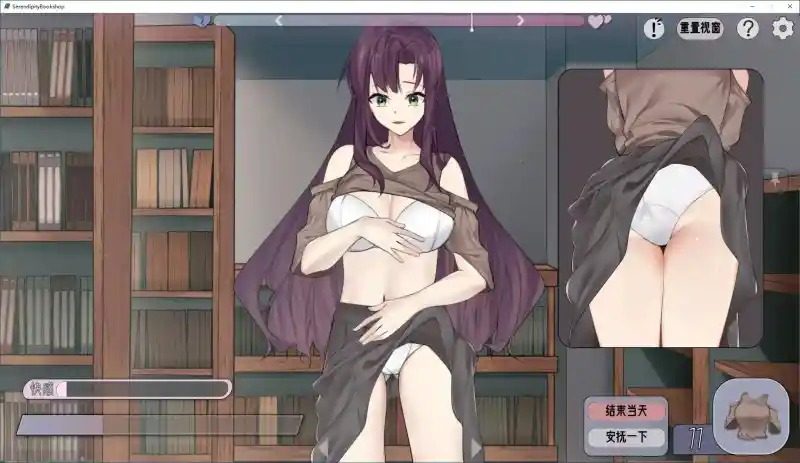
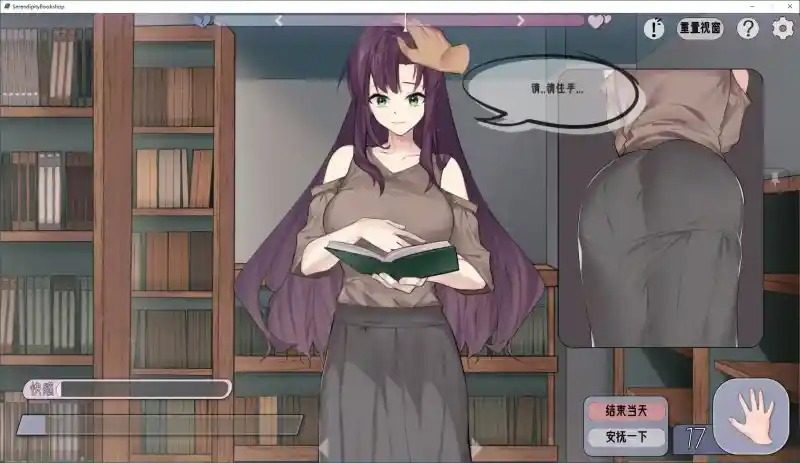
Root, Unlock Bootloader, and CWM Sony Ericsson Xperia Ray (Gingerbread)

sony ericsson xperia ray

Below is how to unlock bootloader, root, and install CWM on Sony Ericsson Xperia Ray.

FOR FIRMWARE 4.0.2.A.0.42 : Updated Oct, 2012

Root and Unlock Bootloader (Gingerbread only)

  1. Download the zip file from here.
  2. Connect Phone to USB (Make sure in settings, you have checked ‘Install unknown resources + USB debugging + Screen awake + activate Mass storage mode).
  3. Execute “RUNME.bat” inside the folder you extracted at no 1.
  4. Follow the instruction that is being displayed.
  5. The phone will be rebooted and it’s bootloader unlocked and rooted.

Install Busybox and CWM Recovery on Sony Ericsson Xperia Ray Android

  1. Install BusyBox Free from STEricsson from Google Play. Open it on your device and let it install few files.
  2. Download the SE Tweak Installer from here (XDA forum page).
  3. Connect Your Phone to USB
  4. Run the SE Tweak Installer, select the device type to the Ray one (Make sure you have checked ‘Install unknown resources + USB debugging + Screen awake + activate Mass storage mode)
  5. Press Install and follow the process.
  6. Check Auto Reboot if you want to test right away (while reboot, press volume+ key multiple times.

If you have followed the steps carefully, it’s done.

FOR FIRMWARE 4.0.2.A.0.62 Posted : April, 2012. 

Requirements

  1. Xperia Ray [ST18i] with the new Firmware Version [4.0.2.A.0.62]
  2. Unlocked Bootloader, see this page from Sony on how to unlock your bootloader.

How to Install Root

  1. Download rootxperia.zip here and place it in your SD card.
  2. Switch OFF your device to enter a fastboot mode (hold volume up while you connect the USB cable to computer).
  3. Download the recoverRAY.img from here, and extract it with the help of WinRAR or any other zip extracting software.
  4. Open folder inside Flashtool where fastboot.exe exists (/FlashTool/x10flasher_lib)
  5. Place the recoveryRAy.img inside the folder
  6. Open command line in this folder Windows XP. There is a free Microsoft Power Toy called “Open Command Window Here” that can be downloaded at this link. Install this small file and the right-click context menu for folders will contain an entry “Open Command Window Here.”Windows Vista/7In the newer versions of Windows, you do not have to install anything. Simply hold down the Shift key and right-click a folder. The context menu will contain an entry, ‘Open command window here.”
  7. Test if it recognizes your device, to do this type fastboot device, if there is a result here proceed.
  8. Now here’s the tricky part, to enter a temporary recovery type fastboot boot recovery RAY.img
  9. Now wait and your phone will reboot, you will see the FREE XPERIA splash screen and your device will now enter temp CWM recovery
  10. On your phone choose install custom zip, locate the rootxperia.zip you added earlier in your SD card and flash it.
  11. Reboot, your device is now rooted.

How to install CWM

  1. Download this then extract
  2. Make sure you enabled USB debugging, and also you need to set the Screen timeout to 10 minutes so you don’t miss the superuser promt.
  3. Run install-cwm1.cmd from the folder.
  4. Follow screen on screen instruction, reboot.

Related Posts; 

Stay in touch with us on Facebook or Twitter or Google+ to keep yourself updated on stuff related to the world of Technology.